NVIDIA Control Panel: Best Settings for Gaming 2026
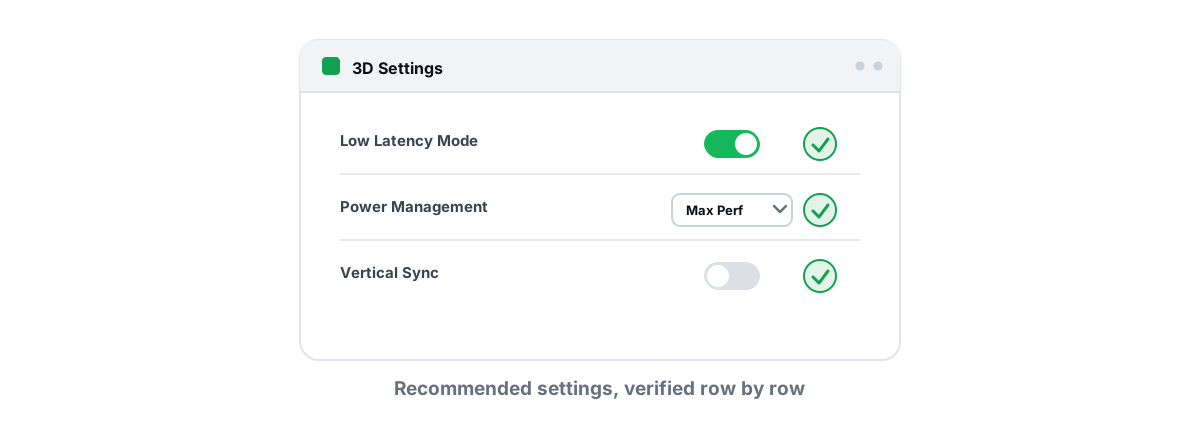
Most "nvidia control panel best settings" guides tell you to slam every dropdown to "performance," reboot, and enjoy your free FPS. That advice is mostly placebo. Here is what each setting actually does, which ones move frames or latency, and which ones do nothing on a modern GPU.
The NVIDIA Control Panel hasn't changed much in years, and the same copy-paste lists keep circulating with it. Some of those toggles mattered on a GTX 600-series card in 2013. On an RTX 30, 40, or 50-series card in 2026, half of them are tied to features that no longer exist or that the driver clamps anyway.
This is a setting-by-setting walk through the Manage 3D Settings page, plus the few items elsewhere worth touching. No hype, no miracle numbers. Where a setting genuinely helps, you'll get a few FPS or a few milliseconds of latency. Where it doesn't, you'll get the truth.
Where global vs per-game settings apply
Open the NVIDIA Control Panel (right-click the desktop, or the system tray icon) and go to Manage 3D Settings. You'll see two tabs: Global Settings and Program Settings.
Global Settings apply to every game and app that doesn't have its own override. Program Settings apply to one executable and win over the global value. The driver picks the program profile automatically when it recognizes the game's .exe; if your game isn't listed, you add it by browsing to the executable.
The practical rule: set sane defaults globally, then override per-game only when a specific title needs it. Frame caps and V-Sync are the most common per-game overrides, because the right cap depends on the game and your monitor.
.exe, not the launcher. Profiling the launcher does nothing. When in doubt, set it globally.Low Latency Mode and how it relates to Reflex
This is the most useful setting on the page, and the most misunderstood. Low Latency Mode has three values: Off, On, and Ultra.
It limits how many frames the CPU is allowed to prepare ahead of the GPU. By default the render queue can hold several frames, which keeps the GPU fed but adds latency — your input sits in a queue waiting its turn. "On" caps the queue at 1 frame. "Ultra" goes further, holding the frame back so it's submitted just in time, trimming a little more lag.
Here's the honest catch. Low Latency Mode only helps when you are GPU-bound — when the GPU is the bottleneck and a queue is actually building. If you're CPU-bound or running well above your refresh rate with frames to spare, the queue is already short and this setting does close to nothing. Not sure which one you are? GPU vs. CPU bottleneck: how to tell in gaming shows you how to read it off your own usage numbers.
How Reflex changes the picture
NVIDIA Reflex is the better tool, and it lives inside the game, not the Control Panel. When a game supports Reflex, turn it on in that game's settings. It manages the render queue and GPU clocks dynamically based on real load, which the driver-level Low Latency Mode can't match. Reflex generally beats Ultra, and when a game has Reflex, the driver Low Latency Mode is ignored for that title.
So the rule is simple:
- Game has Reflex (most competitive shooters do): use Reflex On (or On + Boost) in-game, and leave driver Low Latency Mode at Off or On — it won't fight Reflex.
- Game has no Reflex and you're GPU-bound: set Low Latency Mode to On. Try Ultra and A/B test it; on some titles Ultra costs a couple of FPS for its latency win.
- You're CPU-bound or way above refresh: it barely matters. Don't expect a feeling.
Low Latency Mode and Reflex don't add FPS. They trade a little throughput for lower input lag, and only when a render queue is actually building. The win is felt in fast games, not seen on a frame counter.
If chasing latency is your goal, the Control Panel is one piece of a bigger chain. The full checklist — refresh rate, frame cap headroom, V-Sync choices, peripheral polling — is in our guide to reducing input lag you can actually feel.
Power management mode: prefer max performance, or not
Power Management Mode has three options: Optimal Power, Normal, and Prefer Maximum Performance. The "Prefer Maximum Performance" tweak is in every copy-paste guide. It does one real thing: it stops the GPU from down-clocking to power-saving states, keeping core and memory clocks pinned high.
When does that help? In two narrow cases. First, in lightly loaded games where the GPU keeps dropping to a low power state and causing clock-speed stutter — pinning clocks high smooths that out. Second, if you see frametime hitches that line up with the GPU bouncing between P-states. For those, it's a real fix.
For everything else, the cost is heat, fan noise, and power draw at idle and on the desktop, because the GPU won't clock down when it should. On a desktop with good cooling that's a fair trade. On a laptop it's a worse one — you'll cook the chip and drain the battery for no FPS in titles that already load the GPU fully.
Texture filtering quality and the placebo toggles
This is the section the copy-paste crowd loves, and where the smallest real difference hides. There are several related items: Texture filtering - Quality, Anisotropic sample optimization, Trilinear optimization, and Negative LOD bias.
Setting Texture filtering - Quality to "High Performance" tells the driver to take shortcuts in how textures are sampled. On a 2012 GPU that bought you a few frames. On a modern card, texture filtering is essentially free in hardware, so the FPS difference is within run-to-run noise — and you trade away image quality (shimmer on distant textures, visible mip transitions) for it.
The honest read on the whole cluster:
| Setting | What it does | Verdict on a modern GPU |
|---|---|---|
| Texture filtering - Quality | Sampling shortcuts vs. quality | Leave on Quality (default). "High Performance" gains noise, costs sharpness |
| Anisotropic sample optimization | Reduces AF samples on some surfaces | Leave default. Negligible FPS, slight quality loss if forced |
| Trilinear optimization | Allows bilinear shortcuts between mips | Leave on (default). Effect is invisible and tiny either way |
| Negative LOD bias | Sharpens textures, adds shimmer | Leave on Clamp if anything; don't chase it |
If you want sharper or faster visuals, the lever that actually moves the needle is in the game's own graphics menu, not here. We break down which in-game settings cost the most frames in best graphics settings for FPS vs. quality.
V-Sync, G-Sync, and frame cap: here vs in-game
This is where the Control Panel earns real value, because it controls how your frames meet your display. Getting the combination right is what kills tearing and stutter without adding lag.
G-Sync
If you have a G-Sync or G-Sync Compatible (FreeSync) monitor, enable G-Sync under Set up G-Sync and make sure it's on for fullscreen and windowed if you play borderless. Variable refresh rate is the single best anti-tearing tool because it syncs the monitor to your frames instead of forcing your frames to wait. If the terms blur together, V-Sync vs G-Sync vs FreeSync sorts out which does what.
The V-Sync + cap combination for VRR
For G-Sync/FreeSync to work without tearing at the top of its range and without V-Sync's input lag, the well-tested recipe is:
- V-Sync = On in the NVIDIA Control Panel (not in-game). This acts as a backstop that prevents tearing when you exceed the VRR range.
- A frame cap a few FPS below your refresh rate. On a 144 Hz panel, cap around 138-141. This keeps you inside the VRR window so the V-Sync backstop never actually engages, so you get its anti-tear behavior without its latency.
- Reflex on if the game supports it — it caps frames intelligently and can replace a manual cap.
Where to set the cap: NVIDIA's driver-level Max Frame Rate works globally or per-game and is reliable. An in-game limiter is often slightly lower-latency when it's well implemented, so if a game has a good one, use it instead. Reflex is best of all when present. Pick one limiter — stacking three caps just confuses your frame pacing.
Plain V-Sync without VRR is still a valid choice if you have a fixed-refresh monitor and hate tearing more than you mind a little lag. Just know that's the trade you're making.
Image scaling and sharpening
Image Scaling (NIS, NVIDIA Image Scaling) is a driver-level upscaler with a sharpening pass. You render the game at a lower resolution and the driver scales it to your monitor, with a sharpening filter to claw back some detail. It's a spatial upscaler — it has no temporal data, so it's weaker than DLSS, but it works in any game because it runs in the driver, not the engine.
When it's useful: an older or unsupported game that has no DLSS or FSR, where you're GPU-bound and want frames. Drop the in-game resolution, let NIS scale it back up, and you'll gain real FPS at a visible but often acceptable cost to sharpness. It's a fallback, not a first choice.
If the game supports DLSS or FSR, use that instead — temporal upscalers reconstruct detail far better than a driver-side spatial scaler. The difference between these approaches, and whether the "fake frames" complaint holds up, is covered in DLSS, FSR & frame gen: free FPS or fake frames?.
Settings that do nothing on modern GPUs
Here's the part the "max performance" guides won't tell you: several of their prized toggles are dead weight on current hardware.
- Threaded Optimization: Leave on Auto. Forcing it on or off used to help specific old engines; the driver now makes a better per-game call than you can. Forcing it off can cost FPS in modern multithreaded games.
- Maximum pre-rendered frames: This option is gone. It was folded into Low Latency Mode years ago. If a guide tells you to set it, that guide is old.
- Shader Cache Size: Leave on Driver Default. Disabling it forces shaders to recompile and causes more stutter, not less. The cache is helping you. (If you have shader stutter anyway, the cause is usually elsewhere — see fix shader stutter.)
- Antialiasing - FXAA / Gamma correction / Mode: These driver-forced AA settings barely apply to modern engines, which do their own AA (TAA, DLAA, in-engine MSAA). Forcing them globally either does nothing or breaks the game's own pipeline.
- Ambient Occlusion (driver-forced): Modern games render their own AO. The driver version conflicts or no-ops in almost everything current. Leave it off.
- "Prefer Maximum Performance" as a universal FPS cheat: Covered above — it pins clocks, it doesn't add frames in GPU-bound games.
The pattern is consistent: these settings mattered when the driver was smarter than the game engine, on hardware where filtering and scheduling were expensive. Today the engine and the driver are both smarter, and forcing these by hand usually makes things worse or makes no difference. "Set everything to performance" is cargo-cult advice.
Saving, testing, and reverting your profile
The Control Panel applies changes when you click Apply; per-game profiles save automatically. There's no master export built in, but you don't need one — the settings worth changing are few, and you can write them down.
The real discipline is testing. Don't trust a settings list, including this one, on faith. Measure on your own rig:
- Pick a repeatable scene — a built-in benchmark, or the same 60-second route in the same spot every run.
- Watch frametimes and 1% lows, not just average FPS. Average FPS hides stutter; the 1% low and the shape of the frametime graph tell the truth. A higher average with worse 1% lows is a downgrade.
- Change one thing at a time. Flip a single setting, run the same scene, compare. Change five things at once and you'll never know which one helped or hurt.
- Accept "no difference" as an answer. If the numbers land within a frame or two and the graph looks identical, the setting did nothing on your hardware. Keep whichever you prefer and move on.
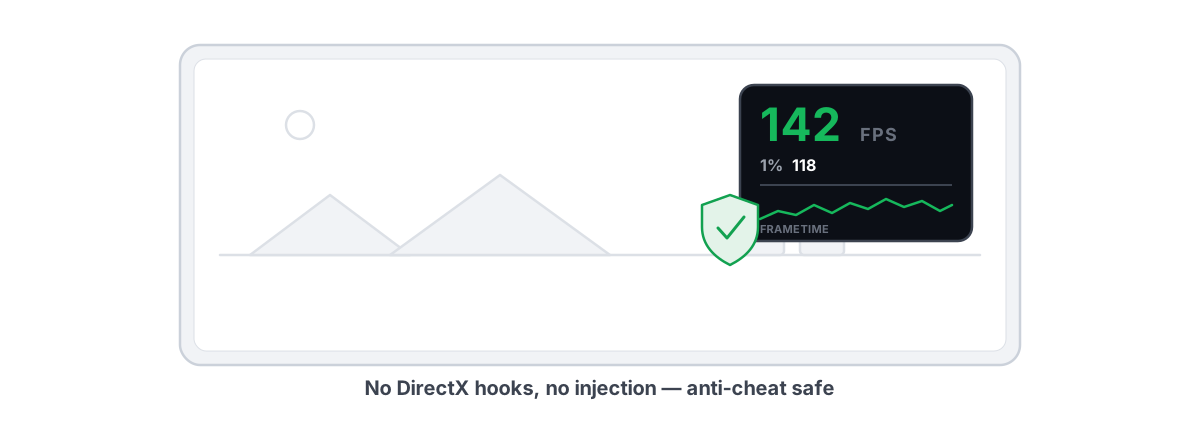
For this you want a frame-time overlay that reads from Windows' own present counters rather than hooking into the game, so it won't trip anti-cheat. An anti-cheat-safe FPS overlay is the right tool — BRUTAL Optimizer's free overlay shows FPS, 1% lows, and frametimes with no DirectX hook or injection, so it runs fine alongside Vanguard, Easy Anti-Cheat, or BattlEye. If you're worried about whether any of this is risky to your account, the four bright lines of anti-cheat-safe optimization spell out what's safe and what isn't.
To revert: each setting has its own dropdown, and the whole page has a Restore Defaults button if you want to wipe your changes and start clean. NVIDIA's defaults are sane — that's the honest part most guides bury. The factory profile is already close to optimal for most games, which is exactly why "set everything to performance" rarely helps.
The driver itself matters more than any toggle on this page. A clean, current driver fixes more stutter and crashes than every "performance" setting combined — just do it the safe way, covered in how to update GPU drivers safely.
If you'd rather measure than guess, BRUTAL Optimizer is built around exactly that: a free anti-cheat-safe overlay with 1% lows and frametimes, a live CPU/GPU/RAM/FPS monitor, and a driver scanner — and it never fakes a number or claims a placebo win. The settings in this article work the same whether or not you ever install it. See what the gaming optimizer actually does if you want a tool that respects the truth as much as you do.
Frequently asked questions
What are the best NVIDIA Control Panel settings for FPS?
Honestly, fewer than most guides claim. Leave texture filtering on Quality, leave Power Management at Normal or Optimal, and leave Shader Cache and Threaded Optimization on default. The settings that actually help are Low Latency Mode (only when GPU-bound), a frame cap a few FPS below your refresh rate, and G-Sync plus driver V-Sync for tear-free, low-lag frames. Setting everything to performance is mostly placebo on a modern GPU.
Should I use Low Latency Mode On or Ultra?
Use On for most cases. Ultra trims slightly more lag but can cost a couple of FPS on some titles, so A/B test it. Both only help when you are GPU-bound and a render queue is building. If you are CPU-bound or running well above your refresh rate, neither does much.
Is Low Latency Mode the same as NVIDIA Reflex?
No. Reflex lives inside the game and dynamically manages the render queue and GPU clocks based on real load, which is more precise than the driver-level Low Latency Mode. When a game supports Reflex, turn it on in-game and the driver Low Latency Mode is ignored for that title. Reflex generally beats Ultra.
Does Prefer Maximum Performance increase FPS?
Rarely. It pins the GPU clocks high instead of letting them drop to power-saving states. That fixes clock-related stutter in lightly loaded games, but in GPU-bound games the card is already at full clocks, so you gain heat and noise, not frames. Set it per-game only where you see clock stutter, not globally.
Which NVIDIA Control Panel settings do nothing on modern GPUs?
Maximum pre-rendered frames is gone (folded into Low Latency Mode). Forcing Threaded Optimization, disabling Shader Cache, and driver-forced antialiasing or ambient occlusion all either do nothing or make things worse on current hardware and game engines. Leave them on their defaults.
Keep reading
 Gaming & FPS
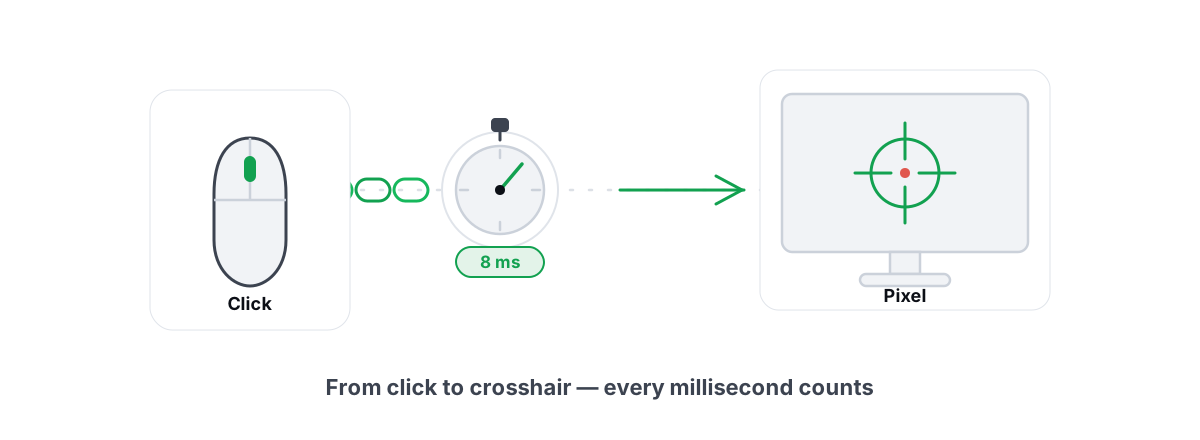
How to Reduce Input Lag You Can Actually Feel
The real chain of input lag from click to photon, and which milliseconds you can actually feel versus the placebo tweaks.
 Gaming & FPS
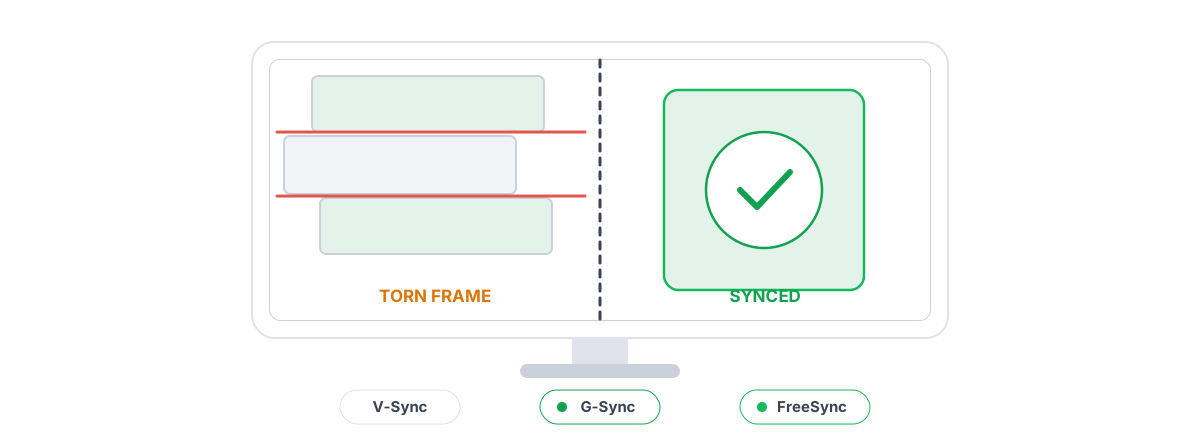
V-Sync vs G-Sync vs FreeSync: Stop Screen Tearing
The honest difference between fixed V-Sync and adaptive VRR, plus the exact frame-cap recipe for tear-free, low-latency gameplay.
 Gaming & FPS
Best FPS Overlay That's Anti-Cheat Safe
Why a present-frame fps overlay is the anti-cheat-safe choice, and how to read 1% lows and frametimes properly.
Stop guessing. Measure it.
BRUTAL Optimizer is the honest way to speed up Windows — 17 free modules, a real FPS overlay, verified disk cleanup and drive health. No kernel driver of our own, no game hooks, every setting change reversible.