Best Game Settings for FPS vs. Quality
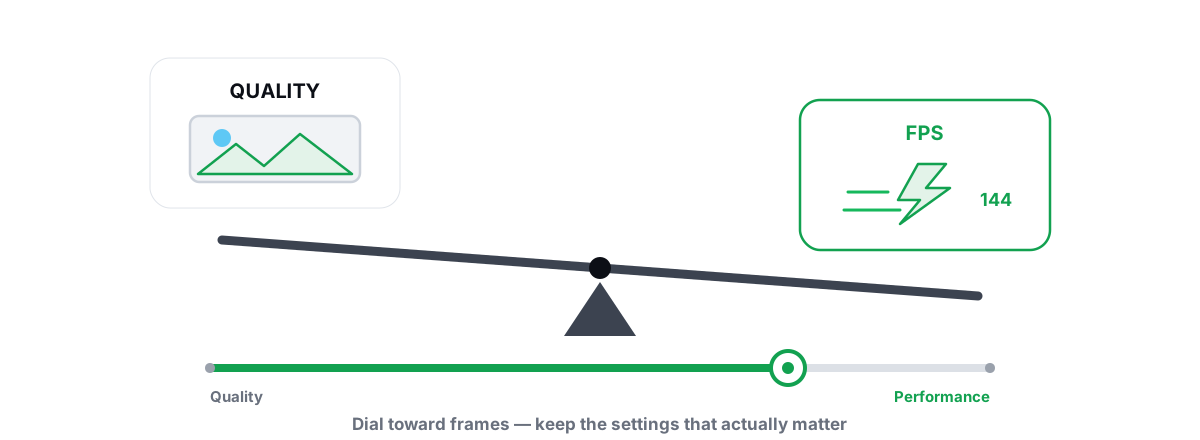
Not every graphics setting costs the same number of frames. Some wreck your FPS for a sliver of visual gain you'll never notice mid-fight; others are basically free if you have the VRAM. The best graphics settings for FPS aren't a single preset — they're a tier list by impact, so you trade quality only where it actually buys frames.
The best graphics settings for FPS spend quality where it's free
Most people drag every slider to Ultra, or yank everything to Low, and call it tuning. Neither is right. What you actually want is each setting's cost-to-look ratio: how many frames it eats versus how much better the game looks while you're playing, not while you're standing still admiring a wall.
Two settings can both say "High" and cost you wildly different amounts. Shadow quality might drop your average from 110 to 85. Texture quality might cost you nothing if your card has the memory for it. So you keep the cheap eye-candy and cut the expensive stuff first.
Tune by impact, not by the preset name. Max out everything that's nearly free, cut hard on the few settings that murder your frame rate, and leave the middle ground to taste.
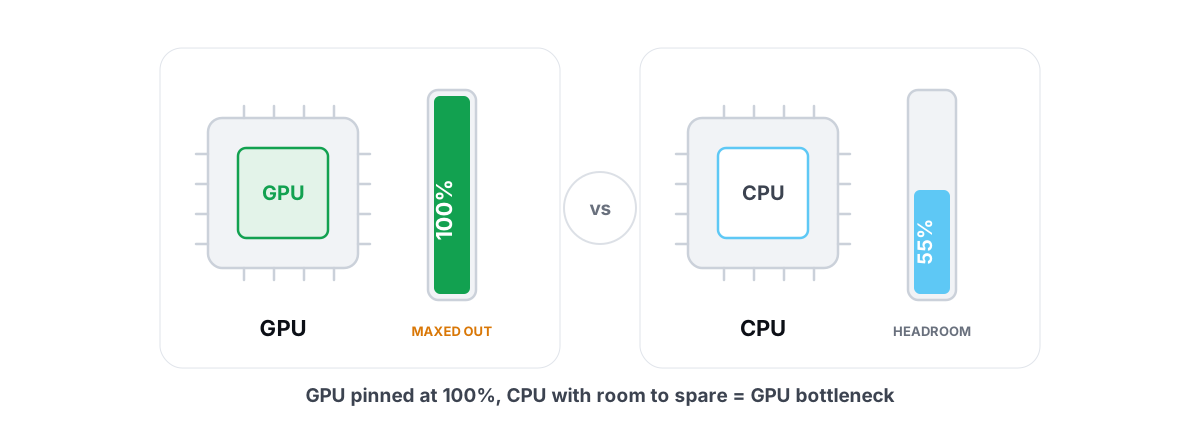
One thing to settle before you touch a single slider: know whether your GPU or your CPU is the limiter. Lowering graphics settings only helps when the GPU is the bottleneck. If your CPU is maxed and the GPU is coasting, dropping shadows won't move the needle. Our guide on telling a GPU vs. CPU bottleneck apart shows you how to check in two minutes.
Settings That Wreck FPS: Shadows, Volumetrics, Ray Tracing
These are the heavy hitters. They render extra passes, sample the scene multiple times, or trace light paths that scale brutally with quality. Cut here first and you reclaim the most frames per click.
Shadow quality
Shadows are almost always the single most expensive raster setting. Higher quality means higher-resolution shadow maps, more cascades, and softer filtering, all of which hammer the GPU. The jump from High to Ultra often costs 10–25% of your frame rate for shadow edges you'll never inspect during a gunfight.
Drop shadows to Medium or High. The contact shadows that matter for spotting enemies stay; the expensive far-distance detail goes. This is usually the biggest single win on the whole menu.
Volumetric lighting, fog, and clouds
Volumetrics simulate light scattering through air, dust, and fog with per-pixel ray marching. It's gorgeous in screenshots and a frame-rate sinkhole in motion. On a mid-range card it can cost as much as shadows.
Worse for competitive play, volumetric fog physically obscures sightlines. Lower it or turn it off and you both gain frames and see enemies sooner. There is no downside for serious play.
Ray tracing and global illumination
Ray tracing is the most expensive thing in any modern menu, full stop. RT reflections, RT shadows, and RT global illumination each trace light rays in real time instead of faking them with cheaper raster tricks. Even on a 40- or 50-series card, turning on full RT can halve your frame rate.
The other quiet frame thieves
- Screen-space reflections (SSR): moderately expensive and full of artifacts at edges. Medium is fine; the difference to Ultra is tiny.
- Ambient occlusion: the contact shadowing in corners. Cheap on its own, but skip the heavy HBAO+/ray-traced variants — SSAO gives 80% of the look for a fraction of the cost.
- Tessellation and high geometry/object detail: can spike CPU and GPU on dense scenes. High is plenty; Ultra rarely changes what you see in play.
- Motion blur and depth of field: cheap to render but they hide enemies and add input-feel lag. Most competitive players turn both off for clarity, not frames.
Settings That Are Nearly Free: Textures and Anisotropic
Here's the part that surprises people. The settings that make a game look "high-end" in stills are often the cheapest on your frame rate — as long as you have the hardware to hold them.
Texture quality / resolution
Texture quality is a VRAM cost, not a compute cost. The GPU isn't working harder to draw a sharp texture than a blurry one; it just needs room to store the larger texture in video memory. If the higher setting fits in your VRAM, it's essentially free frames-wise and a huge visual upgrade.
The catch: overflow your VRAM and the game streams textures from system RAM across the PCIe bus, which causes nasty stutter and frame drops. So the rule is simple — set textures as high as your VRAM allows, then stop.
Anisotropic filtering
Anisotropic filtering (AF) sharpens textures viewed at steep angles — floors, roads, long walls receding into the distance. On any GPU made in the last decade, 16x AF costs a rounding error, often under 1–2% of your frame rate.
Always set anisotropic filtering to 16x. It's one of the best looks-per-frame deals in graphics. There is no reason to run it lower.
| Setting | FPS cost | Visual payoff | Verdict |
|---|---|---|---|
| Shadow quality | High | Medium | Cut to Medium/High |
| Volumetric lighting/fog | High | Low in motion | Low or off |
| Ray tracing | Very high | High when idle | Off for competitive |
| Screen-space reflections | Medium | Medium | Medium |
| Texture quality | None (VRAM-bound) | Very high | Max within VRAM |
| Anisotropic filtering | Near zero | Medium-high | Always 16x |
Anti-Aliasing: TAA vs. MSAA vs. Upscaler AA
Anti-aliasing smooths the jagged "stair-step" edges on geometry. The method you pick matters as much as the level, because they cost very different amounts and have different downsides.
- MSAA (multi-sample): high quality on edges, expensive on GPU, and it does nothing for shader aliasing or transparent textures. Mostly a relic in modern deferred-rendering games. Skip it unless an older title gives you nothing else.
- TAA (temporal): cheap and covers the whole frame by blending samples across frames. The trade is softness and ghosting on fast movement. Most modern games default to it. If it looks blurry, look for a sharpening slider to claw back detail.
- FXAA / SMAA (post-process): very cheap, blur edges in a single pass. SMAA is the better-looking of the two. Good budget option when TAA's smearing bothers you.
- Upscaler AA (DLAA / native-res DLSS/FSR): the modern sweet spot. These run the upscaler's anti-aliasing at native resolution, often looking sharper than TAA and running at a similar or better frame rate. If your game and GPU support it, it's usually the best choice.
Practical rule: prefer an upscaler's AA if available, fall back to TAA with sharpening, use SMAA if you hate the blur, and ignore MSAA in modern titles.
Resolution Scale and DLSS/FSR/XeSS
This is the most powerful frame-rate lever you have, because it attacks the thing that costs the most: the number of pixels you render. Render fewer pixels, then intelligently scale up to your screen's resolution.
DLSS (NVIDIA RTX), FSR (AMD, also works on most GPUs), and XeSS (Intel Arc, with a reduced-quality fallback elsewhere) all do the same job: render the game at a lower internal resolution and reconstruct a sharp output frame. The quality presets trade frames for clarity:
- Quality mode renders around 67% resolution — biggest image fidelity, smallest FPS gain. Start here.
- Balanced / Performance render lower and give bigger frame gains with some softening, best at 1440p and 4K where there are more pixels to hide the reconstruction.
DLSS (newer transformer models) and XeSS on Arc generally look best; FSR is the most compatible. At 1080p, upscalers have less source detail to work with, so stick to Quality mode. At 1440p and 4K they shine — you can often gain 30–60% frame rate with a barely noticeable image hit.
Competitive vs. Cinematic Profiles
Decide what you're optimizing for, because the two goals pull in opposite directions.
Competitive profile (clarity + frames)
You want maximum frame rate, the lowest input latency, and the clearest possible view of enemies. Visual flourish is a liability.
- Shadows: Medium (keep contact shadows for spotting feet around corners).
- Volumetrics, fog, ambient occlusion heavy variants: low or off — they hide players.
- Motion blur, depth of field, film grain, chromatic aberration: off. They obscure targets and add nothing.
- Textures and anisotropic: keep high — they don't cost frames and help you read the scene.
- Anti-aliasing: light (upscaler AA or SMAA); avoid heavy TAA smear.
- Cap your frame rate a few FPS below your monitor's refresh if you use a sync tech, to stay in the low-latency window.
Cinematic profile (looks + immersion)
Single-player, story-driven, controller on the couch. Here you spend frames on atmosphere because there's no opponent to out-read.
- Shadows High/Ultra, volumetrics on, ray tracing on if your card can hold a stable 60.
- Lean on an upscaler in Quality mode to pay for the RT bill.
- Motion blur and depth of field are personal taste — some love the film look, some get queasy.
If you bounce between competitive and cinematic games, save two in-game presets so you're not re-tuning every session.
Match Settings to Your Hardware Tier
Your starting point depends on what's in your machine. A blanket "use these settings" guide is useless because a 4 GB card and a 16 GB card live in different worlds. Rough starting points:
- Entry / older GPU (4 GB VRAM, ~1080p): Textures High (not Ultra — you'll overflow VRAM), shadows Medium, volumetrics low, no RT, anisotropic 16x, upscaler in Quality if supported. Aim for a stable frame rate over peak fidelity.
- Mid-range (8 GB, 1080p–1440p): Textures High/Very High, shadows High, SSR Medium, RT off for competitive, upscaler Quality at 1440p. This is the comfortable mainstream zone.
- High-end (12 GB+, 1440p–4K): Textures Ultra, shadows High/Ultra, RT optional in single-player, upscaler Balanced at 4K. You have headroom to chase looks.
Whatever your tier, the order is the same: max the free stuff (textures within VRAM, anisotropic), cut the expensive stuff (shadows, volumetrics, RT) to hit your target frame rate, then fine-tune the middle. And remember settings are only half the picture — a clean Windows install with sane startup and drivers matters too. If frames feel low everywhere, work through how to increase FPS honestly and trim background load by managing startup programs before you blame the GPU.
Verify the Trade With an Overlay
Never tune by feel alone. Your eyes lie, especially after you've stared at a menu for ten minutes. Put a frame-rate overlay on screen and change one setting at a time so you can see exactly what each click costs.
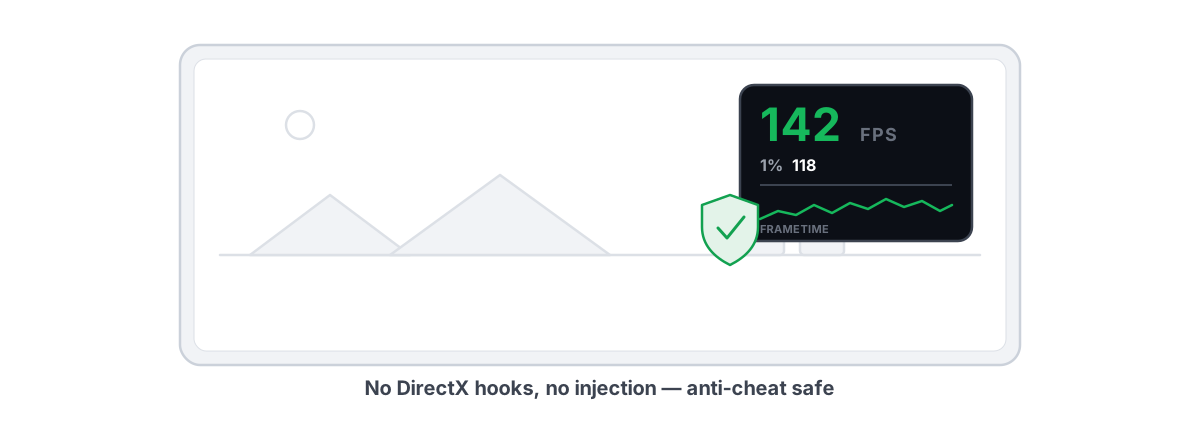
The number that matters most isn't your average FPS — it's your 1% lows and frametime consistency. A game that averages 120 FPS but dips to 40 in firefights feels worse than a steady 90. Watch the 1% low and the frametime graph as you toggle settings; a smooth line beats a high average every time. If you're chasing stutter specifically, our guide to fixing frametime spikes goes deeper on reading that graph.
An anti-cheat-safe overlay is the right tool here — one that reads frame timings without hooking into the game. BRUTAL Optimizer ships a free overlay that shows FPS, 1% lows, and frametimes by counting DWM/D3DKMT present frames rather than injecting into the game, so it runs fine alongside Vanguard, EAC, and BattlEye. Change a setting, watch the 1% low, keep what earns its frames. That's the whole method.
You don't need any software to follow this article — the tier list works in any game's menu. But if you want to measure the trade-offs precisely and keep background bloat off your cores while you play, BRUTAL Optimizer gives you the overlay and the monitor for free, with no kernel driver and every system setting change reversible. Tune honestly, verify the numbers, and only pay frames for quality you'll actually see.
Frequently asked questions
Which graphics setting lowers FPS the most?
Shadow quality and volumetric lighting are usually the most expensive raster settings, and ray tracing is the heaviest of all. Cut those first to reclaim the most frames per click. Texture quality, by contrast, is nearly free if you have the VRAM.
Should I lower texture quality to gain FPS?
Usually no. Texture quality is a VRAM cost, not a compute cost, so high textures are essentially free on frame rate as long as they fit in your video memory. Only drop them if your VRAM overflows and you see streaming stutter.
Is DLSS or FSR worth using?
Yes, especially at 1440p and 4K. They render the game at a lower internal resolution and reconstruct a sharp frame, often giving 30 to 60 percent more FPS with a small image hit. Start in Quality mode. Avoid frame generation for competitive games because it adds latency.
What settings should I turn off for competitive shooters?
Turn off motion blur, depth of field, film grain, and heavy volumetric fog. They obscure enemies and add nothing useful. Drop shadows to Medium for spotting, keep textures and 16x anisotropic high, and skip ray tracing entirely.
How do I know if a setting change actually helped?
Use a frame-rate overlay and change one setting at a time. Watch your 1 percent lows and frametime consistency, not just the average FPS, since a smooth line feels better than a high average that dips in fights.
Keep reading
 Hardware & Drivers
GPU vs. CPU Bottleneck: How to Tell in Gaming
Read GPU and CPU utilization to find which part is capping your frames — then tweak or upgrade the right one instead of guessing.
 Gaming & FPS
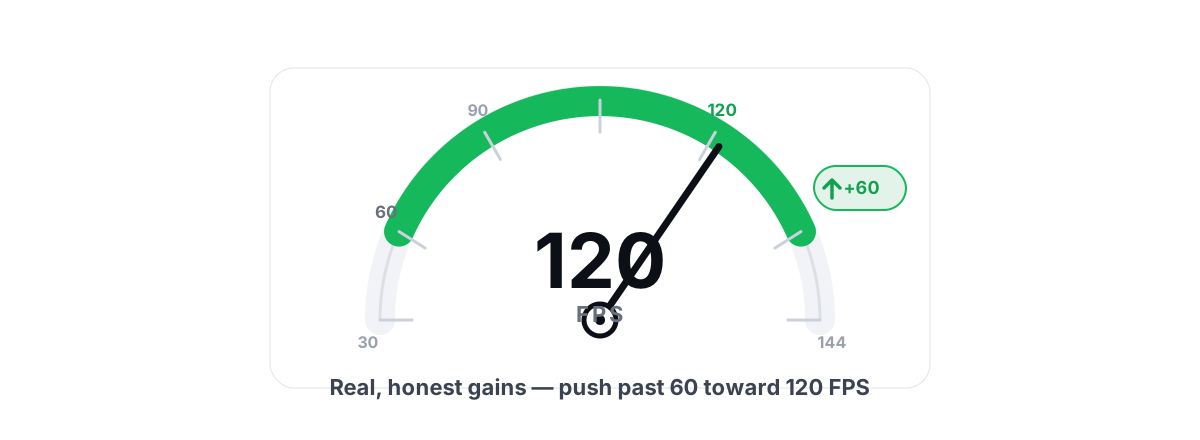
How to Increase FPS in Games (Honest 2026 Guide)
Realistic ways to increase FPS, ranked by impact: settings, drivers, thermals and upscaling, with the placebo tweaks called out.
 Gaming & FPS
Best FPS Overlay That's Anti-Cheat Safe
Why a present-frame fps overlay is the anti-cheat-safe choice, and how to read 1% lows and frametimes properly.
Stop guessing. Measure it.
BRUTAL Optimizer is the honest way to speed up Windows — 17 free modules, a real FPS overlay, verified disk cleanup and drive health. No kernel driver of our own, no game hooks, every setting change reversible.