How to Create a System Restore Point (and Why)
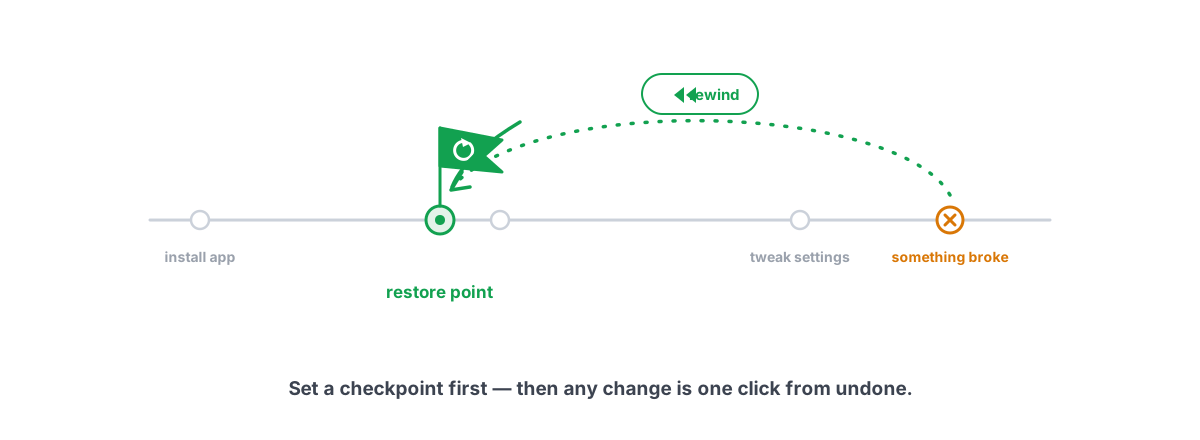
Learning how to create a system restore point is a thirty-second insurance policy. Take one before you touch drivers, a BIOS setting, or any deep system tweak, and the worst case stops being "reinstall Windows" and becomes "roll back, reboot, done." Here is how to set it up properly and when it actually saves you.
Most "my PC broke after a tweak" stories share a cause: someone changed something with no way back. A driver update went bad, a registry edit blue-screened on boot, an overclock wouldn't post. None of those are scary if you snapshotted first. All of them are a long bad evening if you didn't.
System Restore is the built-in Windows tool for exactly this. It is not a full backup, it does not protect your files, and it won't fix a dead drive. But for the specific job of "undo a system-level change that broke something," it is fast, free, and already on your machine. The catch is that Windows often ships with it switched off, so the first job is turning it on.
What a Restore Point Does (and Doesn't) Save
Be precise about what you're getting, because the name oversells it. A restore point is a snapshot of your system state — not a copy of your whole disk.
When Windows creates a restore point, it captures the things that break a boot or a feature:
- The registry — system and most application settings, the part deep tweaks actually change.
- System files and drivers — the DLLs, the kernel-mode drivers, the components Windows Update and driver installers touch.
- Installed program state — enough to roll an app's installation back, which is why a recent program install often vanishes after a restore.
- Some Windows settings and scheduled tasks tied to the protected volume.
Here's the part people miss, and it's the important one:
It also won't help with a failing drive, a corrupted partition, ransomware, or a deleted user account. System Restore lives on the disk it's protecting; if the disk dies, the restore points die with it. Treat it as an undo button for Windows configuration, nothing more.
Restore points snapshot the system — registry, drivers, system files. They do not snapshot your files. It's an undo button for Windows, not a backup of your life.
Enabling System Protection in Windows 11
System Restore relies on a feature called System Protection, and on many Windows 11 installs it's off by default for the C: drive. You have to switch it on once; after that, points get created automatically before major events and whenever you make one yourself.
To enable it:
- Press
Win + S, typeCreate a restore point, and open it. That lands you straight on the System Protection tab of System Properties. - In the Protection Settings list, find your system drive — usually
C: (System). Check the Protection column. If it says Off, that drive has no restore points and never will until you fix it. - Select the C: drive and click Configure.
- Choose Turn on system protection.
- Set Max Usage with the slider. This is the disk space Windows is allowed to spend on restore points. 5% to 10% of the drive is a sane range on a modern SSD — enough to hold several points without eating real space.
- Click Apply, then OK.
That's it. Protection is now on for C:, and Windows will start keeping snapshots. When it hits your Max Usage limit, it quietly deletes the oldest points to make room — so older snapshots don't pile up forever, which is one more reason to make a fresh one right before risky work instead of relying on whatever's already there.
How to Create a System Restore Point Manually
Windows creates points automatically before Windows Update and some driver installs, but it doesn't catch everything — and "some" is not "all." Before a deliberate deep change, make your own. It takes under a minute and you control exactly when it happens.
- Open Create a restore point again (same
Win + Ssearch). - On the System Protection tab, confirm your C: drive shows Protection On. The Create button is greyed out until at least one drive has protection enabled — that's the usual reason people think the feature is "broken."
- Click Create.
- Type a description you'll recognize later — something like
Before GPU driver updateorBefore timer tweaks. Windows stamps the date and time automatically, so don't waste the field on that. - Click Create and wait. Thirty seconds to a couple of minutes, depending on how much has changed since the last point.
You'll get a "The restore point was created successfully" confirmation. That's your safety line. The descriptive name matters more than you'd think — when you're staring at a list of points during a panic, Before NVIDIA 566.36 is a lot more useful than Automatic Restore Point.
If you want this scripted, PowerShell can do it too: Checkpoint-Computer -Description "Before tweaks" -RestorePointType "MODIFY_SETTINGS" from an admin PowerShell prompt. Note that Windows rate-limits manual points to roughly one per 24 hours by default, so a script firing them every hour will silently skip most of them.
When to Snapshot: Before Drivers, BIOS Tweaks, Big Changes
You don't need a restore point before installing a game or changing your wallpaper. You need one before anything that touches the layer Windows boots from. The rule of thumb: if undoing it by hand would be a nightmare, snapshot first.
The clear cases:
| Before you… | Why snapshot | Does Windows auto-snapshot? |
|---|---|---|
| Update a GPU or chipset driver | Bad driver = black screen, instability, or no boot. Rolling back the driver alone sometimes isn't enough. | Sometimes — don't rely on it |
| Edit the registry by hand | One wrong key in the wrong hive can stop Windows loading. | No |
| Run a deep system tweak or "optimizer" | Anything changing drivers, services, or boot config should be reversible as a set. | No (good tools make their own) |
| Change BIOS/UEFI settings or overclock | A restore point won't fix a non-posting BIOS, but it covers the Windows-side fallout (driver/power changes) once you're back in. | No |
| Install low-level software (VPN clients, virtualization, anti-cheat) | These install kernel-mode components that can conflict and break boot. | Sometimes |
Driver updates are the single most common reason people reach for System Restore, which is why we cover the careful method separately in how to update GPU drivers safely — a restore point plus a clean install is the combination that turns a risky update into a low-stakes one. The same logic applies to the whole class of "should you update this driver at all" decisions: if it isn't fixing a real problem, the safest update is sometimes none.
Restoring When Something Breaks
The point of the whole exercise is this moment. Something's wrong after a change — stuttering, a driver crash, a feature that stopped working, or a flat-out refusal to boot. Here's how to roll back.
If Windows still boots
- Search
Create a restore point, open it, and on the System Protection tab click System Restore… (a different button from "Create"). - Windows shows the most recent point, or pick Choose a different restore point to see the list. This is where your descriptive names pay off.
- Click Scan for affected programs first. It tells you which programs and drivers will be removed or restored — no surprises.
- Confirm and let it run. Your PC reboots, rolls back the system state, and reboots again. It can take several minutes; don't cut the power.
If Windows won't boot
You can still get there. Windows drops into the Recovery Environment automatically after a couple of failed boots, or you can force it: hold Shift while clicking Restart, or boot from a Windows install USB and choose Repair your computer. From there: Troubleshoot → Advanced options → System Restore. Same rollback, run from outside the broken Windows.
A restore doesn't touch your personal files either way — it rolls back system state, not your documents. If a restore fails or reports it couldn't complete, that's usually antivirus interfering (run it from Safe Mode or the Recovery Environment) or a corrupted point. When System Restore itself can't help, the next stop is working through what's actually wrong with Windows' own repair tools — SFC and DISM rebuild corrupted system files without a rollback.
Restore Points vs. Backups vs. Undo
These three get muddled constantly, and using the wrong one for the job is how people lose data. They solve different problems.
| Protects | Best for | Does NOT cover | |
|---|---|---|---|
| Restore point | System state: registry, drivers, system files | Undoing a bad tweak, driver, or update | Your personal files; a dead drive |
| Backup (File History, image, OneDrive) | Your actual files (and optionally the whole disk) | Recovering data after deletion, drive failure, ransomware | Fast in-place "undo" of a config change |
| Per-change undo (a tool's own revert) | Just the specific settings that one tool changed | Reverting one feature without rolling back everything else | Anything that tool didn't change |
They stack. The right setup for someone who tweaks their PC is all three: a real backup for your files, System Protection on for the big undo, and tools that keep their own granular revert so you don't have to nuke an entire session to undo one setting.
That last layer is where a well-built optimizer earns trust. Most "optimizers" change things with no way back — the honest ones make every change reversible on its own and drop a system restore point before anything deep. You want both belts and the braces.
A restore point is your system undo. A backup is your file safety net. A tool's own undo is your scalpel. Serious tweakers run all three — they don't substitute one for another.
Why We Ask Windows for a Restore Point Before Big Changes
Reversibility is the whole reason optimization can be low-risk instead of a gamble. A tweak that helps a little is worth doing only if a tweak that hurts can be undone in minutes. Strip away the safety net and even a good change becomes a bet.
That principle is built into how we work. BRUTAL Optimizer attempts a System Restore point before any big change — driver installs, deep low-latency modules, DISM component cleanup — using the same Windows mechanism described above. It's not a custom snapshot engine and it's not a kernel driver; it's a call to the System Restore API that Windows already exposes, the same thing the Create a restore point dialog does.
On top of that, every registry and system change has its own per-module undo, so you can revert one feature without rolling back the rest. That's the difference between a tool you can trust near drivers and boot config and one you can't. It also runs entirely in user mode over the tools Windows ships — fsutil, powercfg, DISM, Windows Update — so it's safe alongside Vanguard, EAC and BattlEye, with no injection and no driver to conflict with the next update.
You don't need any app to do this, though. The habit is the valuable part: before you change anything you couldn't easily undo by hand, take the thirty seconds to snapshot. Turn on System Protection today, make a point before your next driver update, and the scariest tweaks become low-stakes ones. That's the entire trick.
Frequently asked questions
How do I create a system restore point in Windows 11?
Press Win + S, type Create a restore point, and open it. On the System Protection tab, make sure your C drive shows Protection On, then click Create, type a clear description like Before GPU driver update, and click Create again. It takes under a minute.
Why is the Create button greyed out?
Because no drive has System Protection enabled yet. Select your C drive on the System Protection tab, click Configure, choose Turn on system protection, set Max Usage to around 5 to 10 percent, then Apply. After that the Create button works.
Does a system restore point back up my personal files?
No. A restore point snapshots system state only, the registry, drivers, and system files. It does not copy your documents, photos, or game saves, and restoring will not bring back files you deleted. For your data you need a real backup like File History or OneDrive.
Will System Restore delete my files when I roll back?
No. Rolling back changes system state and installed programs, not your personal files. Programs installed after the restore point may be removed, but your documents and photos are left alone. Use Scan for affected programs first to see exactly what changes.
When should I create a restore point?
Before anything that touches the layer Windows boots from: GPU or chipset driver updates, manual registry edits, deep system tweaks, BIOS or overclock changes, and low-level software like VPN or anti-cheat clients. If undoing it by hand would be painful, snapshot first.
Keep reading
 Hardware & Drivers
How to Update GPU Drivers Safely in 2026
The clean-install method that prevents stutter and crashes, when to roll back a bad GPU driver, and why a restore point comes first.
 Hardware & Drivers
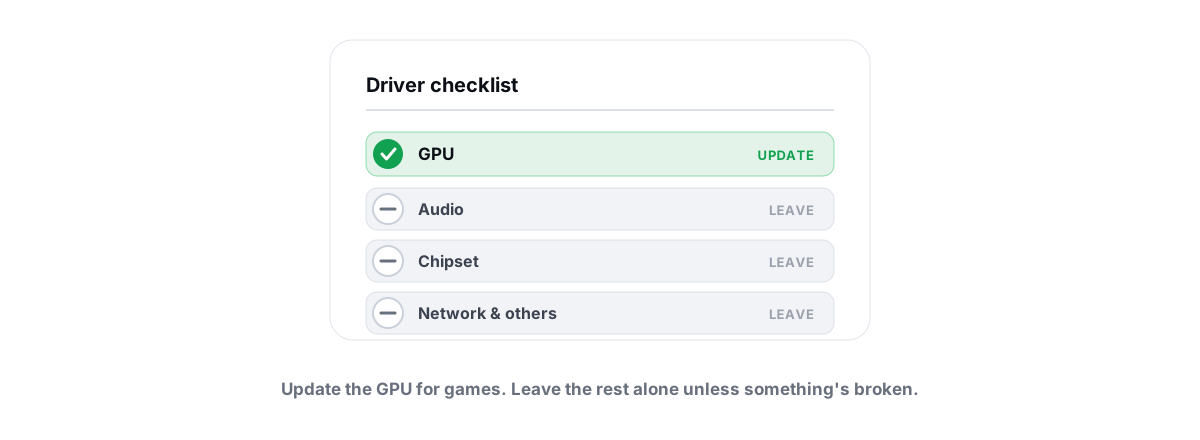
Should You Update Drivers? Which Matter, Which to Skip
Most driver updates do nothing. Here is which ones actually matter, which to skip, and why driver-updater tools are mostly bloatware traps.
 Windows Performance
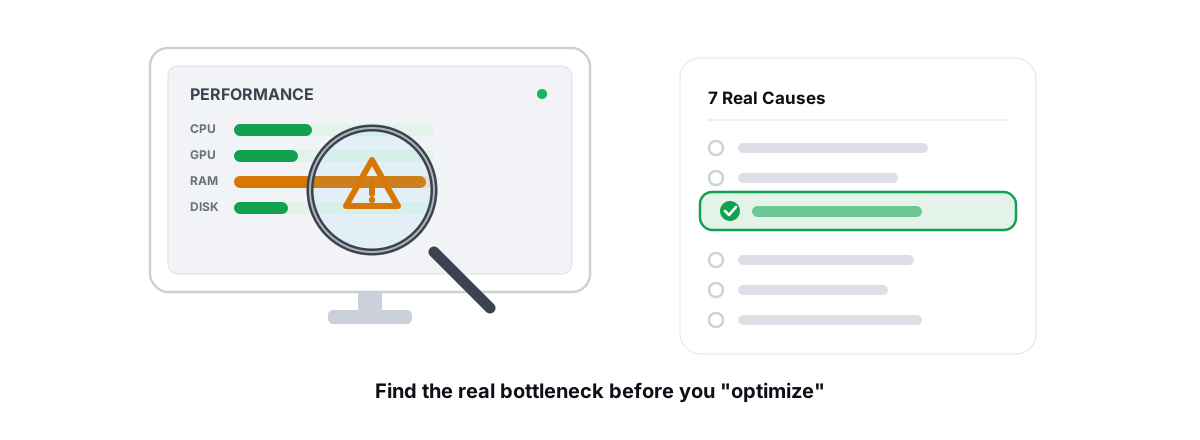
Why Is My PC So Slow? 7 Real Causes (and Fixes)
A diagnosis-first guide to finding the real reason your PC is slow with built-in tools, then fixing only what matters.
Stop guessing. Measure it.
BRUTAL Optimizer is the honest way to speed up Windows — 17 free modules, a real FPS overlay, verified disk cleanup and drive health. No kernel driver of our own, no game hooks, every setting change reversible.